
When considering a new tile installation, there’s nothing quite like the sleek finish and durability of porcelain tiles. Many of us contemplate whether to hire a professional or tackle the job ourselves. If you’ve decided to go the DIY route, we are here to support you every step of the way. Installing porcelain tiles might seem daunting, but with the right tools, a little know-how, and a systematic approach, you can achieve results that not only look professional but also stand the test of time.
Choosing the right porcelain tiles involves more than picking a style that suits your taste. It requires understanding which tiles are best for specific areas of your home. Tiles that work beautifully in a rarely used formal dining room may not hold up in a busy kitchen. To help guide you through this, our upcoming sections will delve into selecting the ideal tile for every room, listing the tools and materials required, providing a detailed installation guide, and finishing up with essential grouting and sealing tactics for maximum durability.
By taking this project on yourself, you gain not only the satisfaction of a job well done but also a deeper appreciation of the craftsmanship involved in tile installation. Join us as we break down the process into manageable steps, ensuring your success in achieving a professional finish with your new porcelain tiles.
Choosing the Right Porcelain Tiles for Your Space
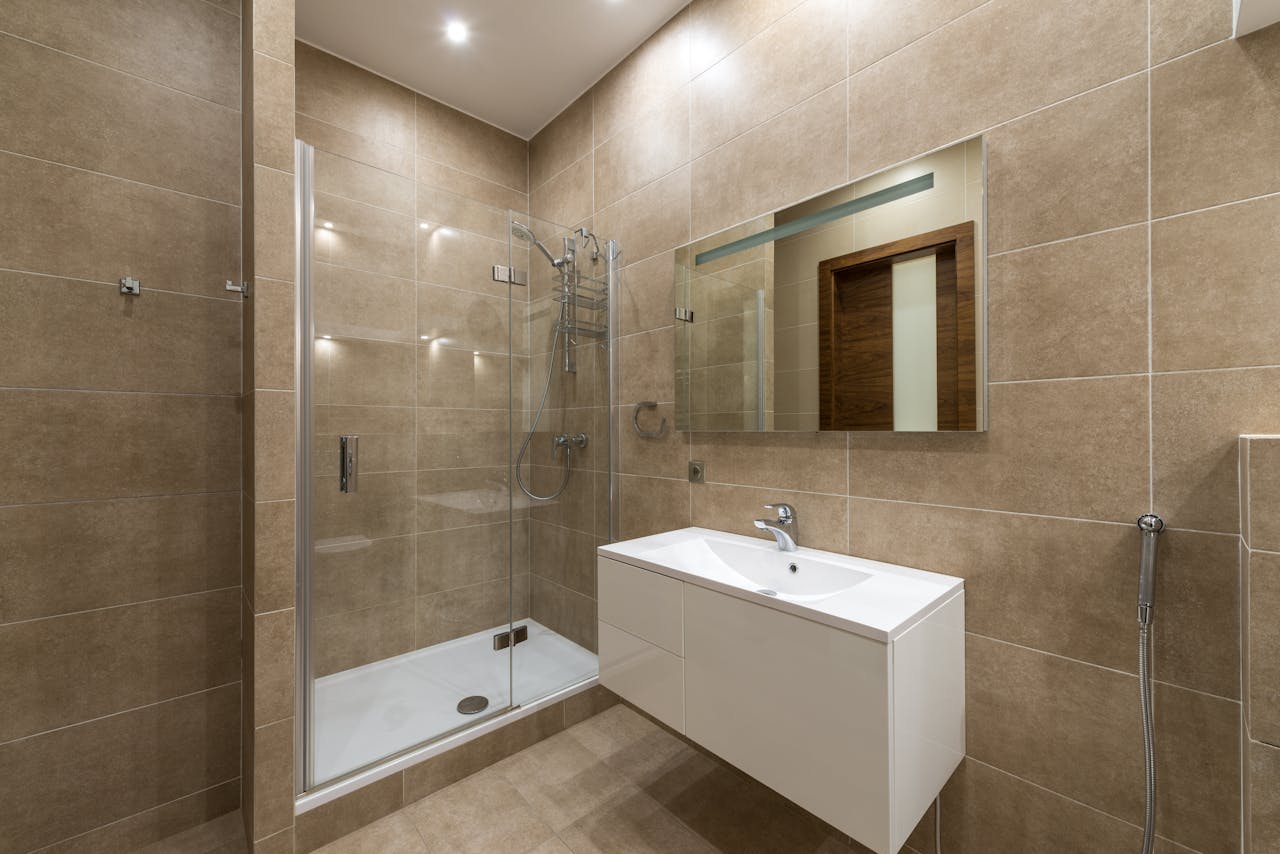
Selecting the perfect porcelain tiles for your home isn’t just about colours and patterns. It’s crucial to consider the tile’s practicality in relation to your lifestyle and usage. Start by assessing where the tiles will be installed. High-traffic areas like kitchens, hallways, and bathrooms require tiles that are not only beautiful but also hardy and slip-resistant. For instance, full-bodied porcelain tiles, known for their colour consistency all the way through, are ideal for such areas because they withstand wear and tear better.
Moreover, the finish of the tiles plays a pivotal role in both aesthetics and function. Glossy finishes might be perfect for a luxurious bathroom, but they could pose a slip hazard in wet areas like kitchens. Conversely, matte finish tiles offer better grip and are suited for busy areas. It’s essential to get samples and see how they look in the lighting of your room at different times of the day. This test helps ensure the tiles you choose complement your space’s natural and artificial lighting, enhancing your overall decor seamlessly.
Essential Tools and Materials Needed for Installation
Proper installation of porcelain tiles requires precision and the right tools. If you’re considering doing it yourself, here’s what you’ll need to begin: Measuring tape and a level are fundamental for accurate fitting and alignment. A tile cutter, whether manual or electric, is critical for achieving clean cuts that fit your space dimensions perfectly. For mixing and applying adhesives, you’ll need a bucket, mixing paddle, and a notched trowel; the notch size should correspond to the tile size.
In addition to these tools, a rubber mallet and tile spacers are indispensable for laying tiles evenly and achieving uniform grout lines. A wet saw might be necessary for intricate cuts, like those around corners or fixtures. Lastly, don’t forget about personal protective equipment, including gloves, eye protection, and a dust mask, especially when cutting tiles. Acquiring these tools ensures you’re prepared to handle every step of the installation process, supporting you in achieving a professional finish whilst safeguarding your well-being.
Step-by-Step Guide to Laying Porcelain Tiles
Installing porcelain tiles might seem challenging, but with a systematic approach, you can achieve a pristine layout that lasts for years. The first step is to ensure that your surface is perfectly clean and level. Any debris or unevenness can cause the tiles to lay incorrectly, leading to potential cracks or uneven wear over time. Once the surface is prepared, measure the area and plan your layout carefully. It’s wise to start from the centre and work your way towards the edges; this method ensures any cuts you need to make with tiles are at the room’s perimeter, where they are less noticeable.
Next, apply a layer of adhesive using a notched trowel. The key here is to only work on a small area at a time to prevent the adhesive from drying out before the tiles are placed. Lay your tiles firmly into the adhesive, pressing down evenly and using spacers to maintain consistent gaps for the grout. Once all the tiles are in place, allow the adhesive to set completely — usually, this takes around 24 hours. Patience during this stage is crucial for achieving that professional finish.
Finishing Touches: Grouting and Sealing for Durability
After the adhesive has set, the next step is grouting. Choose a grout colour that complements your tiles to enhance the overall appearance. Apply the grout using a grout float, working it into all the joints between the tiles. Be sure to wipe away any excess grout with a damp sponge as you go to prevent it from setting on the surface of the tiles. Once the grout has cured, which typically takes a few days, apply a sealant. Sealing is especially important for porcelain tiles as it helps protect the grout and tile from moisture and staining, extending the longevity of your floor.
Sealant not only adds a protective layer but also enhances the colour depth of the tiles, giving your room a stunning finish. Regular maintenance, such as cleaning spills quickly and avoiding abrasive cleaning tools, will keep your new floor looking spectacular for years to come.
Final Thoughts
Embarking on a DIY porcelain tile installation can be a rewarding project that adds value and beauty to your home. By selecting the right tiles, preparing your surface thoroughly, meticulously laying and grouting the tiles, and completing the job with a quality sealant, you create a durable and attractive living space. Remember, the key to a successful tile installation is patience and attention to detail.
Whether you’re renovating an old room or finishing a new one, we at DB Tiles are here to provide you with high-quality materials and expert advice. Visit us to explore our extensive range of porcelain tiles and everything else you need for your tiling project. Discover how we can help you achieve that perfect finish in every room of your home.